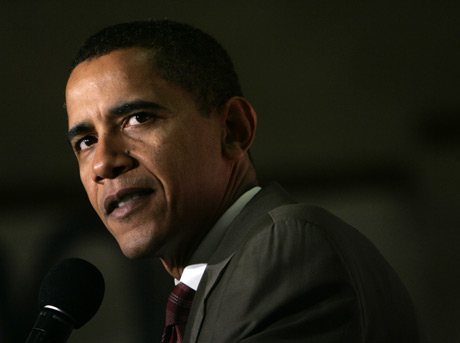
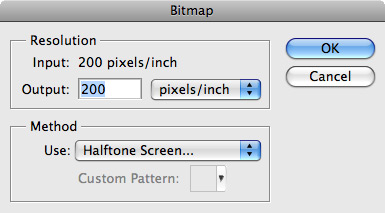
Step 1: The key to this technique is to pick a starting image with lots of light/dark contrast and a good amount of dark shadows. Depending on what use you have in mind for the final image make sure to choose a suitable size (width x height) file that is at least 200 pixels/inch (ppi).
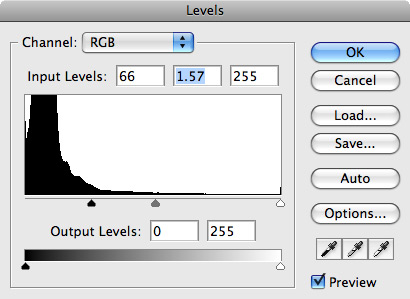
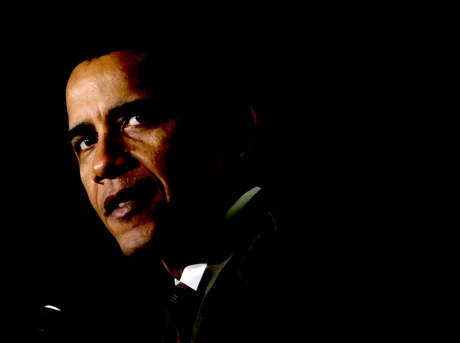
Step 2: Darken the image by adjusting the levels. Image > Adjustments > Levels (Command + L). As you will notice I only moved the left (black point) and middle (midtone) sliders. By moving the black point slider to the right I deepen the shadows by converting the darkest gray pixels in the image to black. By moving the midtone slider to the left I intensify the highlights by boosting the lightest (white) pixels in the image.
Step 3: Convert the image colormode to Grayscale. Image > Mode > Grayscale.
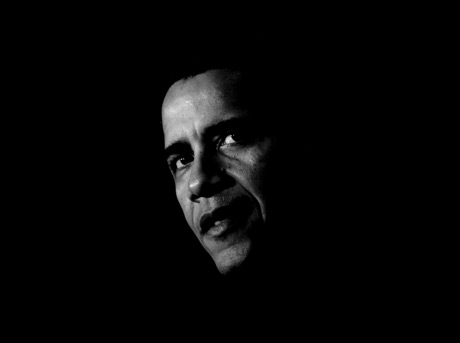
Step 4: Select the Pencil Tool (B) and set your foreground color to Black. Now paint over everything (microphone, neck, collar, tie, ear) except the main face highlights.
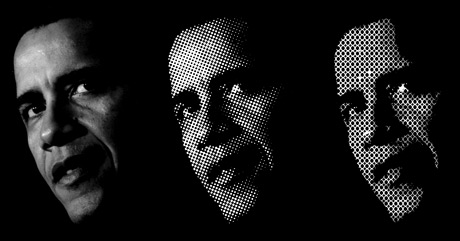
Step 5: Convert the image colormode to Bitmap. Image > Mode > Bitmap.
Step 6: Once again, convert the image back to Grayscale and leave the Size Ratio set to 1. Image > Mode > Grayscale.
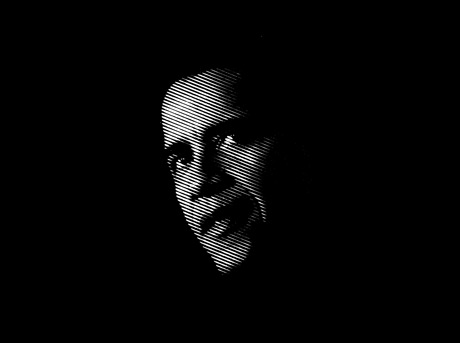
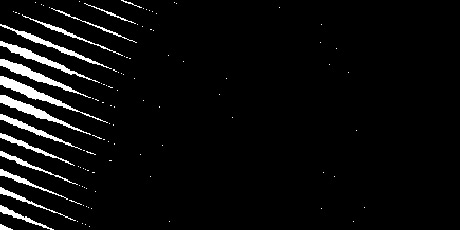
Step 7: Finally, zoom in and clean up the messy edges by painting over them with the Pencil Tool (B) set to a Black.
Done… Download sample file(s).
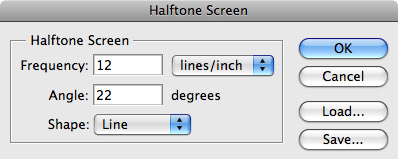
Extra: By changing the Frequency, Angle and Shape settings in the Halftone Screen dialog box you can create numerous looks that work well with a wide range of design projects. To get really creative try changing the Bitmap Method to a Custom Pattern of your own. Grayscale, Round Halftone Screen, Custom Bitmap Pattern using Obama “O”.

Added to http://www.psaddict.com
very nice ! This tutorial is very cool, thanks
thanks ,great .
great tutorial.
first thing i ever did on photo shop that i was actually proud of is this 🙂 i loveeee it
great tutorial
cool thanks for this bro…
Thanks dude.
I’m gonna try that.
hey this tutorial is amazing. i used it for a school project and it helped out alote. thanks for posting it. you made using this method very easy. great tutorial
nice…
coollll
nice tutorial….thankz
was it just me ? I had a really hard time on step 5.THats the most important part. I didnt know what numbers to adjust the pic to.I had big gaps in my lines at first. I had to keep guess what numbers I would look good at until I got it which took awhile. But when I was done it was great, thanks.
james p,
It really depends on the resolution of the image you start with. Following this tutorial with a 72 ppi image will generate a different look (amount of lines) unless you compensate by adjusting the halftone frequency setting. Also, the angle setting should be pretty constant for any image since it only adjusts the angle of the halftone lines.
thanks…thisn one is a total help for me and my profession as an Artist…Would you mind to add more and detailed information on this particular…for free of course…hahhaha…yah, I mean it…thanks a lot! MORE POWER!
THANK YOU!!!!!!
i read sooooo many other tutorials but thhis is the gem that i was lookin for. thank you very much!
I’m glad you enjoyed it! Thanks for stopping by! – Josh
Cara,
tutorial muito bom, obrigado!!!!!!
WHAT DID YOU DO TO TAKE OFF THE EXCESS BLACK SURROUNDING
THE FACE BEFORE PRINTING.THANK U!!!
Moses, I’m going to try and answer your questions using a video response… so we’ll see how this goes. I think I know what you’re asking so just follow the link below to watch the video and let me know if you have any other questions afterwards. – Josh
http://www.vimeo.com/18285482
wow.. done..thank you..it’s very helpfull^^..